How to Record Your CLE Programs
If you’re not already recording your CLE programs, now is the time to start. Recording gives you the option to share your Continuing Legal Education course with a wider audience, including those who couldn’t attend the in-person event or webinar. And your content is likely valuable for a larger audience than just those in the room on the day of the program.
Putting on CLE programs takes a lot of time and effort. You’ve already gone through the hard part of arranging the speaker, gathering materials, applying for credit, booking a venue, collecting attendance records, and issuing certificates.
By recording the program, you’re saving all of your hard work. This gives you a great option to share the program with a larger audience in the future. Once you have your course recorded, you can decide how you want to share it. For example, you could create an on demand CLE from your recorded webinar.
Fortunately, recording presentations on a computer has never been easier.
There are many ways to record programs. Here are some of the easiest and best ways we’ve found to create a basic recording of the presenter’s screen (likely PowerPoint slides) and voice.
Record using a video conference line
Using a video conference line is a quick and easy way to record a program. We recommend Zoom for video conferencing. Zoom makes it easy to start a call, share the screen, and record.
All you need to do is download the free Zoom app on the presenter’s computer beforehand and click record when the course starts. If you have multiple presenters, we recommend having them share a computer that is connected to the conference line.
When recording over video conference, you can chose to have remote audience members on the line, or you can just record the video call without others on it. You can use recorded video conferences even if the live event is 100% in person.
Most video conferencing platforms allow you to record your presentation just like Zoom. Other popular options are GoToMeeting, WebEx, and join.me.
Record on your Mac (free)
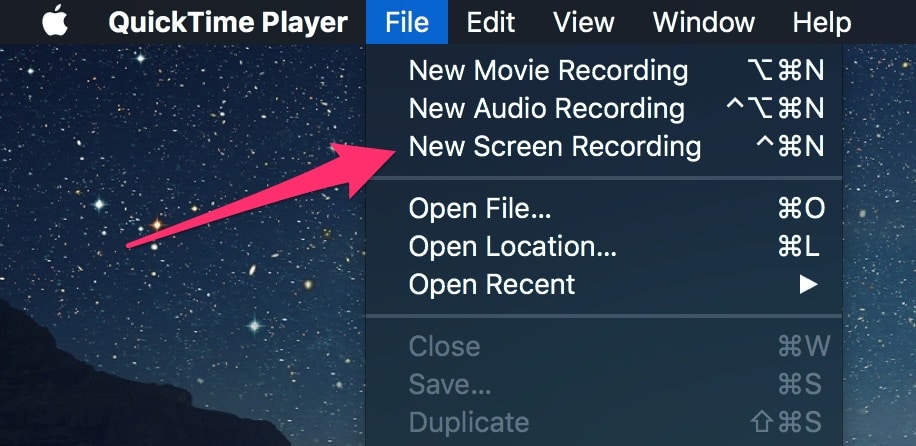
If the presenter is using a Mac, you can capture their screen and audio using Apple’s built-in QuickTime application.
- ClickShift-Command (⌘)-5. A menu will appear at the bottom.
- Under options select the correct microphone source.
- Click “Record the Entire Screen” button.
You can read the full QuickTime recording instructions on Apple’s Website.
Record on your PC (free)
If the presenter is using Windows, you can record the Window’s Game DVR option. It’s a little more complicated than using a Mac. We recommend following these detailed settings and instructions.
Premium recording options (paid)
Screenflow (Mac only)
For an upgraded recording option on the Mac, we recommend ScreenFlow. ScreenFlow is easy to use while offering professional recording and editing options.
Screencastify (Mac and Windows)
Mac and Windows users looking for a simple recording option, should look at a great Chrome extension called Screencastify. The extension makes it dead simple to record your desktop, webcam, and audio. When your program is over, you can download your recording to your computer or save to Google Drive.
Screencastify offers a free trial that is limited to 10-minutes of recording time. Don’t forget to upgrade to the unlimited $24 per year paid plan before your program starts.
Camtasia (Mac and Windows)
A great professional option for Mac and Windows is Camtasia. Camtasia is expensive (currently $249), but offers many great features if you’re looking to create more professional recordings.
You can download free trials of each of these paid options to see what works best for you.